Welcome to our expert guide on how to assemble and disassemble a blender! Blenders are a staple appliance in many households, used for everything from making smoothies to pureeing soups. However, the process of assembling and disassembling a blender can be intimidating for some. Fear not, as we have put together this comprehensive guide to help you navigate this process with ease, allowing you to get the most out of your blender. Whether you’re a seasoned pro or a first-time blender owner, this guide will provide you with all the information you need to safely and effectively assemble and disassemble your blender. So, let’s get started!
Assembling a blender is a fairly straightforward process. Here are the steps to follow:
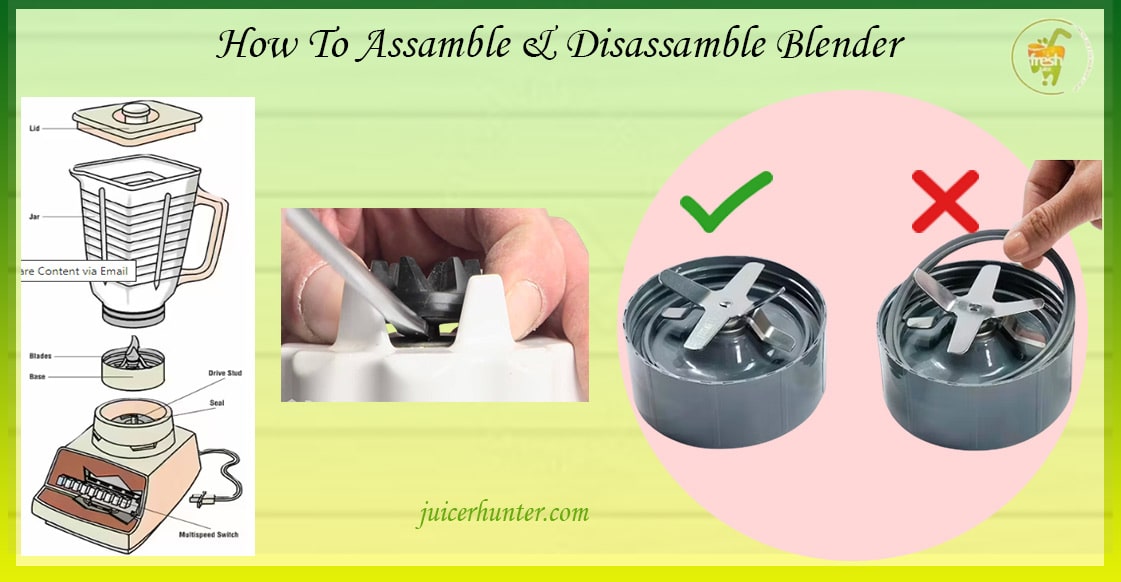
Gather all the necessary parts: Before starting, ensure that you have all the necessary parts, including the blender base, pitcher or jar, blade assembly, and lid.
Set up the base: Begin by placing the blender base on a flat and stable surface. Most blenders feature suction cups on the bottom that ensure a secure fit.
Attach the blade assembly: Next, attach the blade assembly to the bottom of the pitcher or jar. Make sure it’s securely attached and aligned properly.
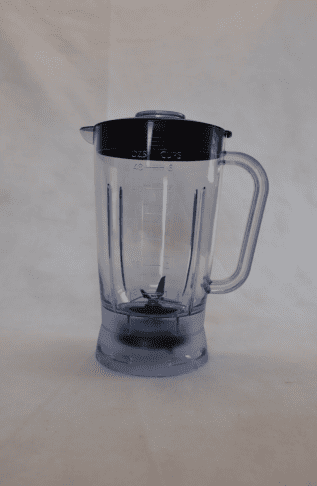
Place the pitcher: Place the pitcher or jar onto the base, ensuring that it sits securely on the base.
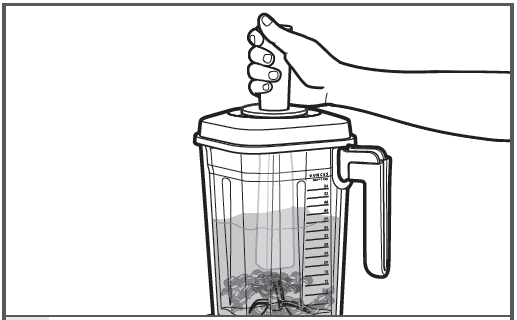
Attach the lid: Finally, attach the lid securely to the pitcher or jar. Some blenders may require you to twist the lid into place or lock it down with clips.
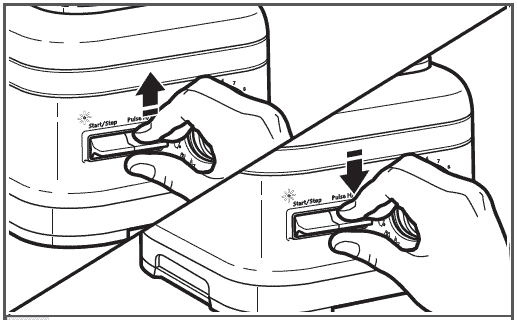
Test the blender: Before using the blender, ensure that it’s properly assembled by giving it a quick test run without any ingredients.
Congratulations! You’ve successfully assembled your blender and are ready to start blending!
How To Disassemble A Blender?
Disassembling a blender is just as important as assembling it, as it allows for proper cleaning and maintenance. Here are the steps to follow:
Unplug the blender: Before disassembling the blender, ensure that it’s unplugged from the power source to prevent any accidents.
Remove the pitcher: Carefully remove the pitcher or jar from the base, ensuring that you’re holding it by the handle or base and not the blades.
Remove the lid: Next, remove the lid from the pitcher or jar, taking care not to damage any of the clips, seals or gaskets.
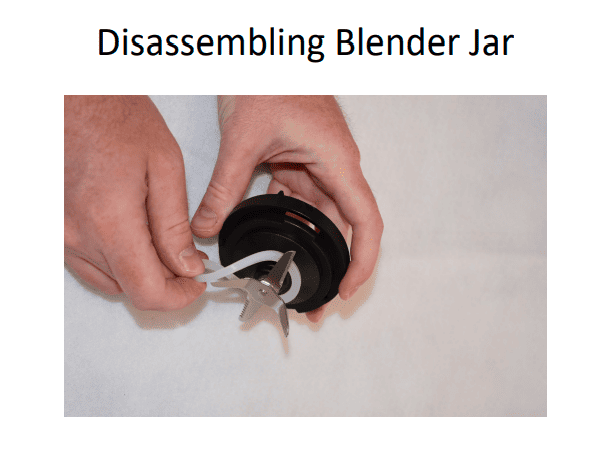
Remove the blade assembly: Once the lid is removed, carefully unscrew or twist the blade assembly from the bottom of the pitcher or jar. Some blenders may have a locking mechanism that requires you to push or twist the blade assembly before removing it.
Clean the parts: After disassembling the blender, thoroughly clean all the parts with warm soapy water, taking special care to clean the blades and the area around them.
Reassemble the blender: Once cleaned, reassemble the blender in reverse order, ensuring that all parts are securely attached and aligned properly.
Test the blender: Before using the blender, ensure that it’s properly reassembled by giving it a quick test run without any ingredients.
By following these simple steps, you can easily disassemble and clean your blender, ensuring that it’s always in good working condition.
Importance Of Assembling And Disassembling Blender Properly:
Assembling and disassembling a blender properly is crucial for a few reasons:
Safety
Improper assembly or disassembly can result in injury or damage to the blender. For example, handling the blades improperly or not securing the lid can cause accidents.
Maintenance
Proper disassembly of the blender is essential for proper cleaning and maintenance. Not properly disassembling and cleaning the blender can cause food buildup, leading to mould and bacteria growth, which can cause health problems.
Performance
Proper assembly of a blender ensures that it will function correctly and perform to its full potential. Properly assembled blenders produce smoother and more consistent blends and can last longer.
Longevity
Proper assembly and disassembly can extend the lifespan of the blender. Taking care of the blender by cleaning and maintaining it properly ensures that it will last for years to come.
In summary, it’s essential to assemble and disassemble a blender properly to ensure safety, maintenance, performance, and longevity. By following the manufacturer’s instructions and the steps outlined in this guide, you can ensure that your blender stays in good condition and produces the best results every time.
Factors To Be Consider While Assembling And Disassembling Blender:
When assembling and disassembling a blender, there are a few factors you should consider to ensure that the process goes smoothly and safely. Here are some of the main factors to consider:
Safety Features
Check whether the blender has any safety features such as suction cups, locking mechanisms or safety switches. These can help prevent accidents during use and assembly.
Compatibility
Ensure that all the parts you’re using are compatible with each other. Using the wrong parts can cause damage to the blender or make it unsafe to use.
Proper Alignment
Proper alignment of the blade assembly and pitcher or jar is crucial for the blender to function correctly. Failure to align these parts properly can cause leaks or uneven blending.
Tightness
Ensure that all the parts are tightened to the manufacturer’s specifications. Loose parts can cause leaks while over-tightening can cause damage to the blender.
Cleaning
Proper cleaning and maintenance are crucial to the longevity and performance of the blender. Ensure that you clean all parts thoroughly and regularly.
User Manual
Always refer to the user manual for specific instructions and safety guidelines for assembling and disassembling the blender.
By considering these factors, you can ensure that you’re properly assembling and disassembling your blender, preventing accidents, and ensuring the longevity and performance of the blender.
Final Thought
You’ve made it to the end of our expert guide on how to assemble and disassemble a blender. By following the steps outlined in this guide, you can safely and effectively connect and disconnect your blender, ensuring that it’s always in good working condition.
Remember to always refer to the manufacturer’s instructions for specific assembly and disassembly instructions and safety guidelines. Properly assembling and disassembling your blender is crucial for safety, maintenance, performance, and longevity. It’s also essential to consider factors such as safety features, compatibility, proper alignment, tightness, cleaning, and user manual instructions.
With this guide, you can confidently use and maintain your blender, ensuring that it lasts for years to come and produces smooth and consistent blends every time. Happy blending!


: Blend Your Way")
-Fit For Smoothies, Soups And Sauces")


